

If there’s one dish that instantly brings back memories of Filipino celebrations, it’s Lumpiang Shanghai. Whether it’s a birthday party, Christmas, New Year’s Eve, a family reunion, or a neighborhood fiesta, you’ll almost always find a platter of freshly fried lumpia on the table. In many Filipino homes, a celebration simply doesn’t feel complete without it.
Growing up in the Philippines, Lumpiang Shanghai was one of the first dishes to disappear during family gatherings. As kids, we’d patiently wait near the kitchen while the adults rolled hundreds of lumpia wrappers by hand. The irresistible aroma of garlic, onions, and sizzling pork frying to a perfect golden brown made it nearly impossible to wait until dinner.

This classic Filipino spring roll is made with seasoned ground pork, finely chopped vegetables, and simple pantry ingredients wrapped in delicate lumpia wrappers and fried until wonderfully crispy. Every bite is packed with savory flavor and a satisfying crunch that’s loved by both kids and adults.



One of the reasons Lumpiang Shanghai has remained a favorite for generations is its versatility. It’s perfect as an appetizer, party finger food, merienda (afternoon snack), or even served with steamed rice as a complete meal. It can also be prepared ahead of time and frozen, making it a convenient recipe for busy families and special occasions.
This recipe uses simple ingredients while staying true to the authentic Filipino flavor many of us grew up with. Whether you’re cooking for your family or introducing Filipino cuisine to friends, this homemade Lumpiang Shanghai is guaranteed to become a crowd favorite.
So gather your ingredients, invite the family to help with the wrapping, and enjoy one of the Philippines’ most beloved comfort foods—crispy, flavorful, and made with love.
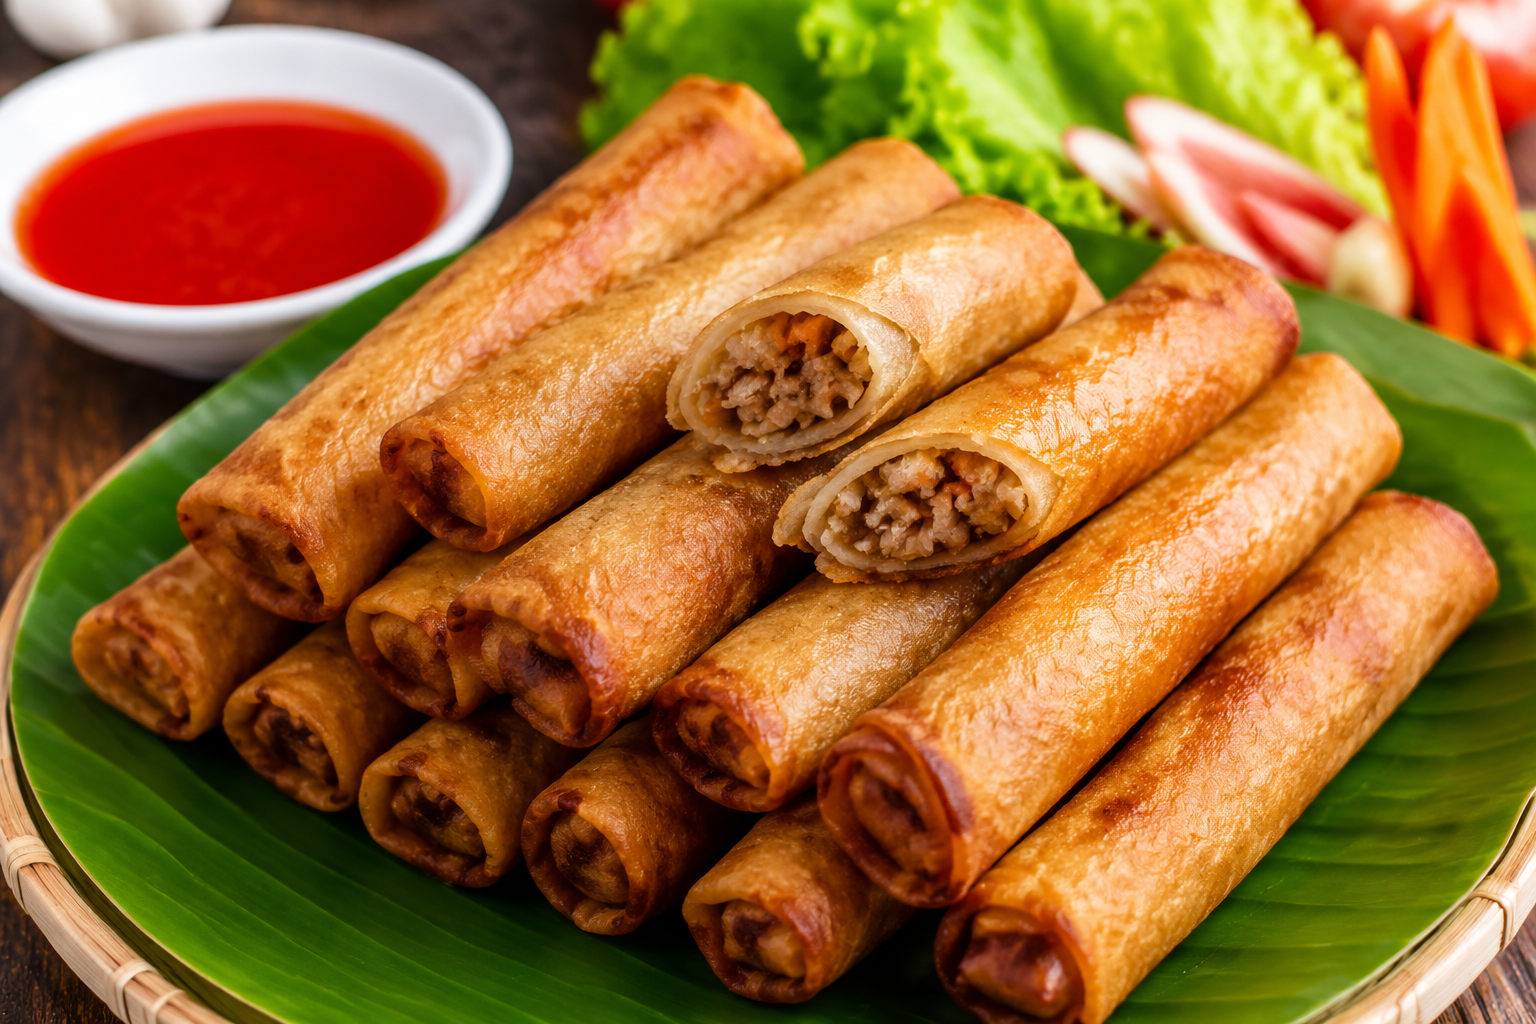
Despite its name, Lumpiang Shanghai isn’t actually from Shanghai, China. The dish was inspired by Chinese spring rolls introduced to the Philippines centuries ago through Chinese traders and immigrants. Over time, Filipino cooks adapted the recipe by using local ingredients and flavors, creating the crispy pork-filled version that has become a staple of Filipino cuisine today. It has since become one of the country’s most iconic appetizers and is enjoyed by Filipinos around the world.
✅ Quick Tips: Read the recipe in its entirety before you start cooking. This will help you understand the ingredients, steps, and timing involved, and allow you to prepare any necessary equipment or ingredients beforehand.
Lumpiang Shanghai (Filipino Spring Rolls)
Description
Cheesy Vegan Pizza Beans is a delicious and satisfying vegan dish that is perfect for a quick dinner or a satisfying snack. Made with kidney beans, tomato sauce, and vegan cheese, this dish is packed with protein and flavor.
Ingredients
Instructions
-
Rinse and sort the kidney beans. Soak the beans in a large pot of water for at least 8 hours, or overnight.

-
Drain and rinse the beans. Place them in a large pot and cover with water. Bring to a boil, then reduce the heat to a simmer and cook for 1 hour, or until the beans are tender.
-
Preheat the oven to 375°F (190°C).
-
Heat the olive oil in a large skillet over medium heat. Add the onion, bell pepper, and garlic, and cook for 5 minutes, or until the vegetables are tender.

-
Add the oregano, basil, salt, and black pepper, and stir to combine.
-
Add the tomato sauce and cooked beans to the skillet and stir to combine.

-
Spread the bean mixture in an even layer on a baking sheet. Sprinkle the vegan cheese shreds and vegan parmesan cheese on top.
-
Bake for 10-15 minutes, or until the cheese is melted and bubbly.
-
Serve hot and enjoy!

Nutrition Facts
Servings 1
- Amount Per Serving
- Calories 386kcal
- % Daily Value *
- Total Fat 16.7g26%
- Saturated Fat 2.4g12%
- Total Carbohydrate 56.5g19%
- Sugars 7.5g
- Protein 18.2g37%
- Vitamin A 302 IU
- Vitamin C 12 mg
- Calcium 135 mg
- Iron 7 mg
* Percent Daily Values are based on a 2,000 calorie diet. Your daily value may be higher or lower depending on your calorie needs.
Note
You can also use other types of beans in this recipe, such as black beans or pinto beans.
Feel free to get creative and add your favorite pizza toppings to the mix!